
Start working by creating a new file (File>New) with 1024x768 px and 72 dpi.
Select then the Rectangle Tool (U) to draw the background of the picture we want to get finally.
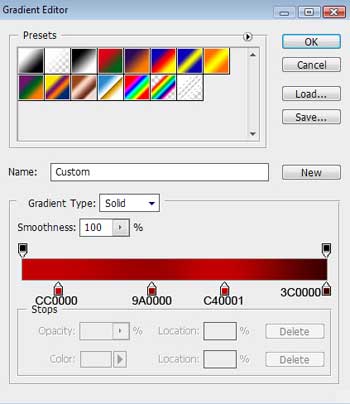
Select the next parameters for the made layer by making a mouse click on the processed layer on the layers� panel: Blending Options>Gradient Overlay
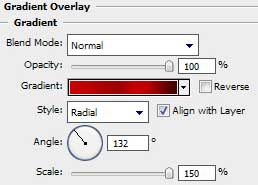
Gradient�s parameters:

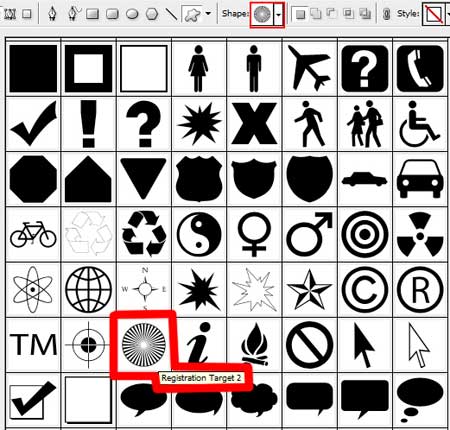
The Custom Shape Tool (U)
Custom Shape Tool (U).
 You use the shape tools to draw lines, rectangles, rounded rectangles, and ellipses in an image. In Photoshop, you can also draw polygons and create custom shape libraries to reuse and share custom shapes.
'); return false">Custom Shape Tool (U) gives the possibility to draw several rays of white color, by selecting the element we want to draw out of the next table:
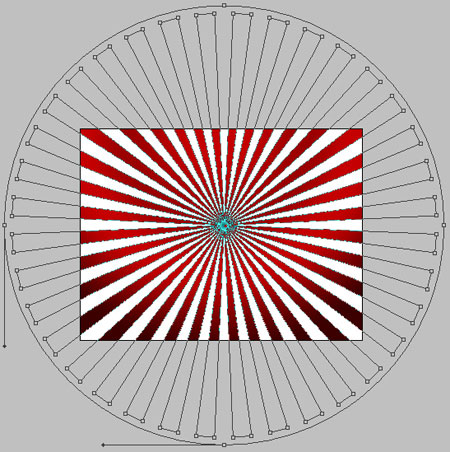
The layer�s parameters: Fill 10%

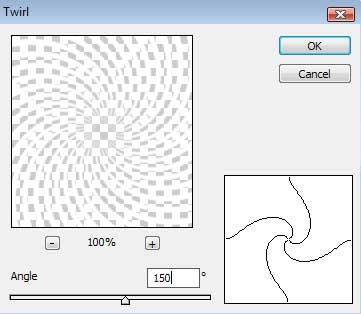
Try to make the necessary transformation of the made layer into the next one from below (CTRl+E) On the same layer we have to apply the next solution Filter>Distort>Twirl

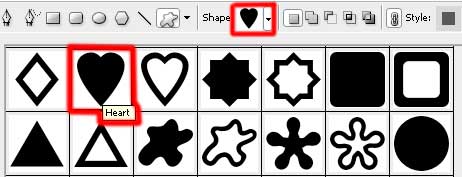
Select again the Custom Shape Tool (U) to draw a heart element, chosen out of the next table:


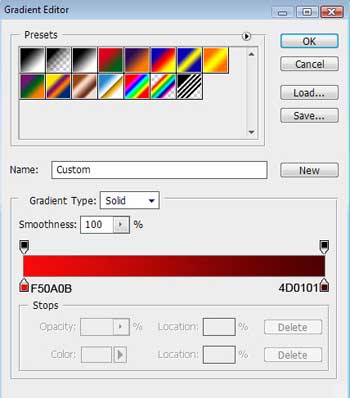
The layer�s parameters: Blending Options>Gradient Overlay
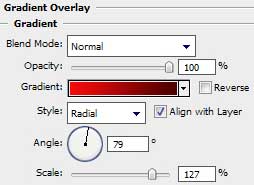
Gradient�s parameters:

Next step includes drawing a flare on the made heart. In this case we have to make a copy of the heart�s layer and then choose the Convert Point Tool to change the geometry the way demonstrated next image. We�ll select also different parameters for the new layer.
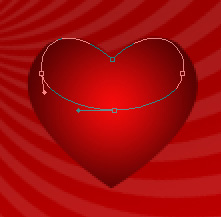
The layer�s parameters: Fill 0%
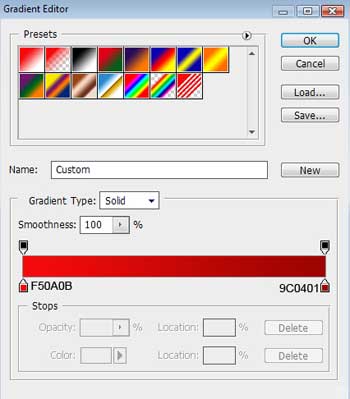
Blending Options>Gradient Overlay
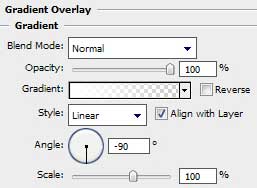
Gradient�s parameters:


Getting a better result means on this stage combining in a group all the layers containing the heart element (press Ctrl button to mark out the corresponding layers and then hold on the left mouse�s button to take the marked layers on Create a new group selection). Make a copy of the heart�s group and select Free Transform option to change the copies� sizes and the parameter of the heart�s first layer.
Blending Options>Gradient Overlay

Next we�ll make a lot of copies of our made heart, but Free Transform selection will be helpful in changing the sizes of the copies and placing them the way from below:

The picture is finished!
View full size here.
0 yorum :
Yorum Gönder