
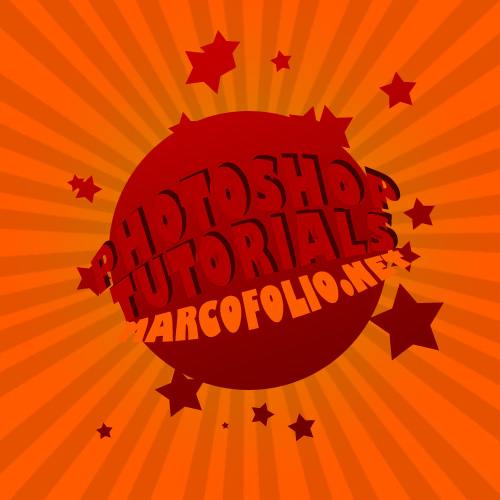
Start a new file in Photoshop by going to File > New (Ctrl + N). I created a document with a size of 500 x 500 pixels.
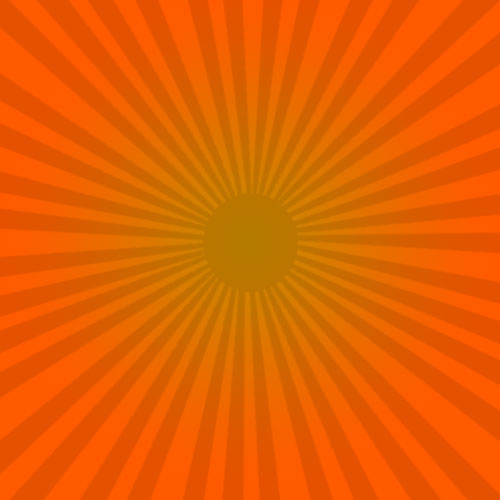
Select your Gradient Tool (G) and set it to Radial Gradient. I used the colors #c98900 and #ff5a00 to create a nice gradient background. Start your gradient in the middle of your canvas.

To get more attention to the center of your piece, we'll add some vector lines to the artwork. You can draw them yourself using the Pen Tool, but to keep it simple we're going to use a brush to do the trick. I used to Vector 05 pack to grab the vector lines.
Add them to a new layer on top of your radial background with a color of #000000. Set the opacity to 10%. We'll use this as our background.
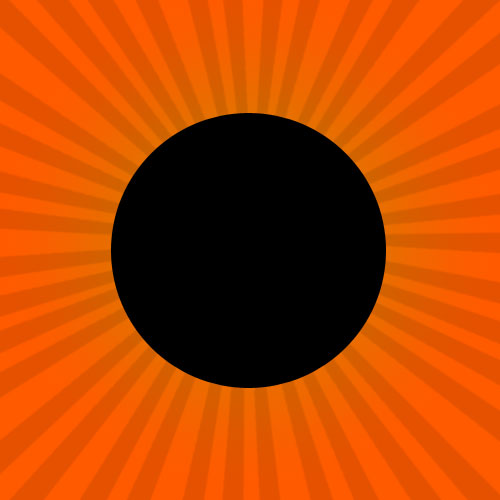
First, we'll add a "globe" to our image. Do this by grabbing your Ellipse tool (U) and drawing a circle by holding shift and dragging with your mouse. At this point, the color of your shape doesn't matter. Place your globe in the center of your art.
Let's add our first stars to our image. Photoshop has a standard build-in star shape, so let's use that one. Select your Custom Shape Tool (U) and grab the 5 point star. If you can't find it, you might need to expand your custom shape tools by adding all custom shapes to the panel.
Now randomly draw some stars, each one with a different size. Make sure this is on a clean, new layer. Add 5 stars. With a new layer, also add 5 stars, but rotate this layer a little bit using Free Transform (Ctrl + T). Repeat this step with another layer of stars until you're satisfied.
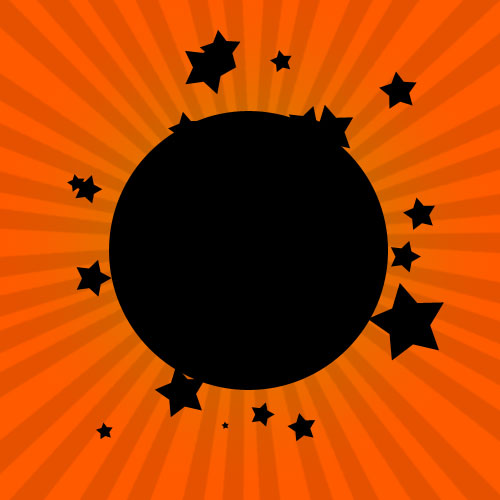
Group the globe + stars layers together by selecting them all in the layers palette and pressing Ctrl + E. Now Right-click on the created layer and select Blending Options. A new window will open.
Navigate to Gradient Overlay. Change the gradient from #6d0000 untill #c80000. I also changed the angle to 105.

Create a new layer on top of all layers. This layer will contain the typography. To get the best results, you should go for a big, fat font. I'll be using Gill Sans Ultra Bold. I also changed the Leading (Space between the lines) to 30 pt in the Character panel and wrote the lines Photoshop Tutorials.
With the layer still selected, go to Edit > Transform > Warp. Set the warp-style to Arc Upper. I added another line with the text marcofolio.net that I warped using Shell Lower.
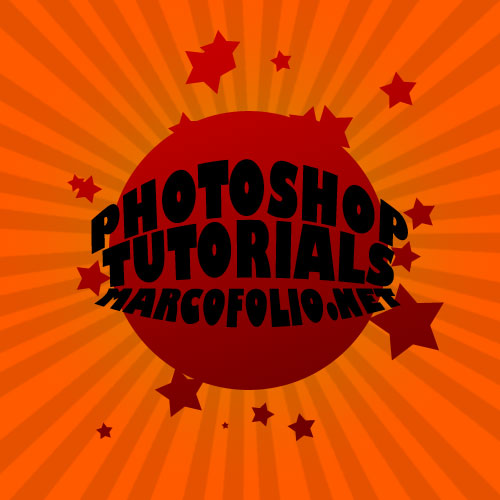
Slightly rotate the text layers with the Free Transform Tool (Ctrl + T). Right-click on the layer with the first two lines (Photoshop Tutorials) and select Blending Options. Give it a color overlay of #7e0000. Also give it an Inner Shadow with an opacity of 60%. Set the angle to 45 and uncheck Use Global Light. The distance is set to 5 px and all other values are set to 0.
Change the color of your third line (Marcofolio.net) to #fc5c00.
Merge both text layers by selecting them both and pressing Ctrl + E. Right-click on the newly created layer and select Blending Options. Give the newly created layer a Stroke with a #FFFFFF color and a size of 10 px.
Duplicate this layer two times. Merge (Ctrl + E) the two copies. This will flatten the layers. Give that layer a Color Overlay of #000000 that can be set in the Blending Options. Place this layer under the original text layer and move it around, making it look like a shadow.
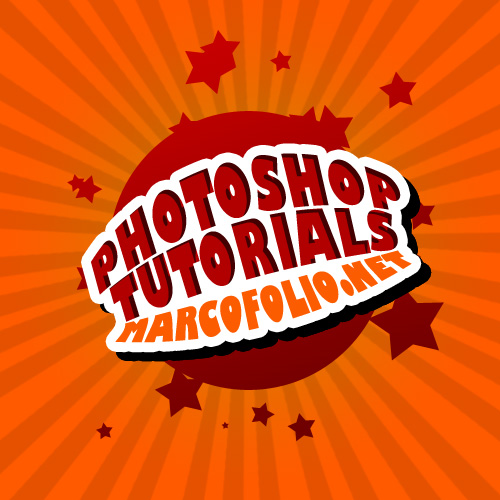
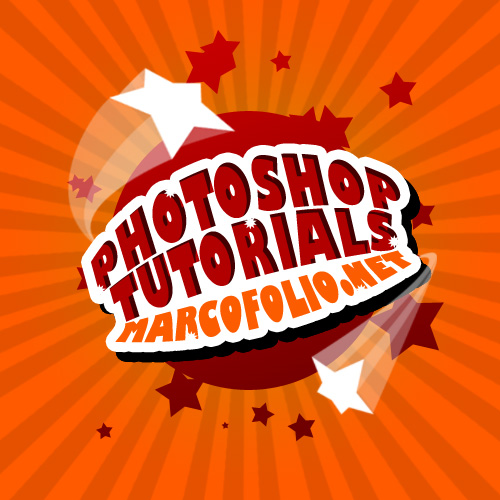
For some final touches, I added some flying stars from the Flying Vector Stars brush pack with a color of #FFFFFF. I also grabbed the 10 point star from the custom shapes pallet and added a couple of them on top of the text.
0 yorum :
Yorum Gönder